Showing posts with label DIY projects. Show all posts

Wednesday, February 29, 2012

Handmade jewelry makes me happy - Bead embroidery

If I am not shuffling through my makeup stash or surfing the net or reading countless online resources about parenting, you can find me doing bead embroidery! I just love how therapeutic it is. I did mention this in an earlier blog post (click here). Sadly, I am not able to sew much as I find it very difficult to stand too long or sit too long, so that is on the back burner for now. Since my ever growing belly is getting in the way of my other hobbies, bead embroidery has come to the rescue as I can comfortably sit in my cosy sofa and do it for hours.

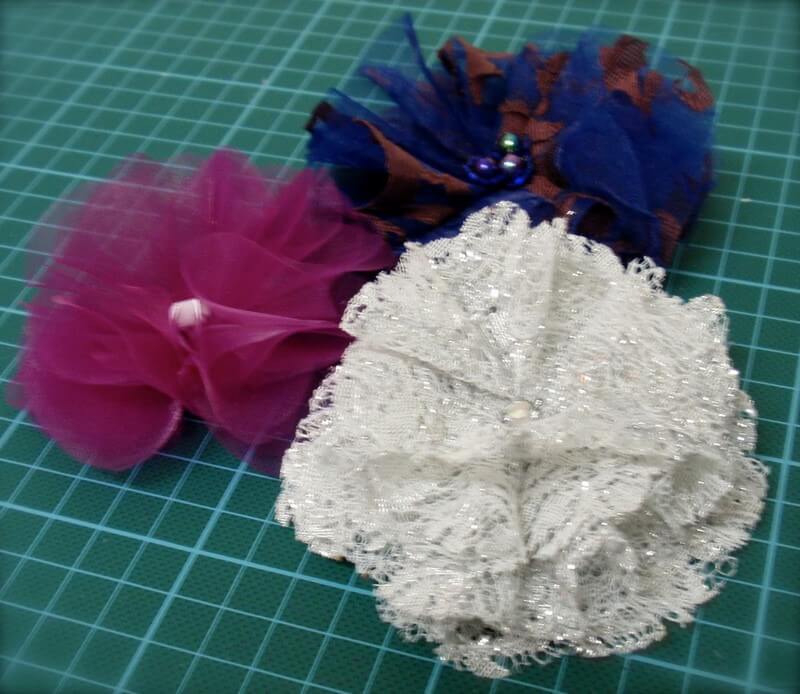
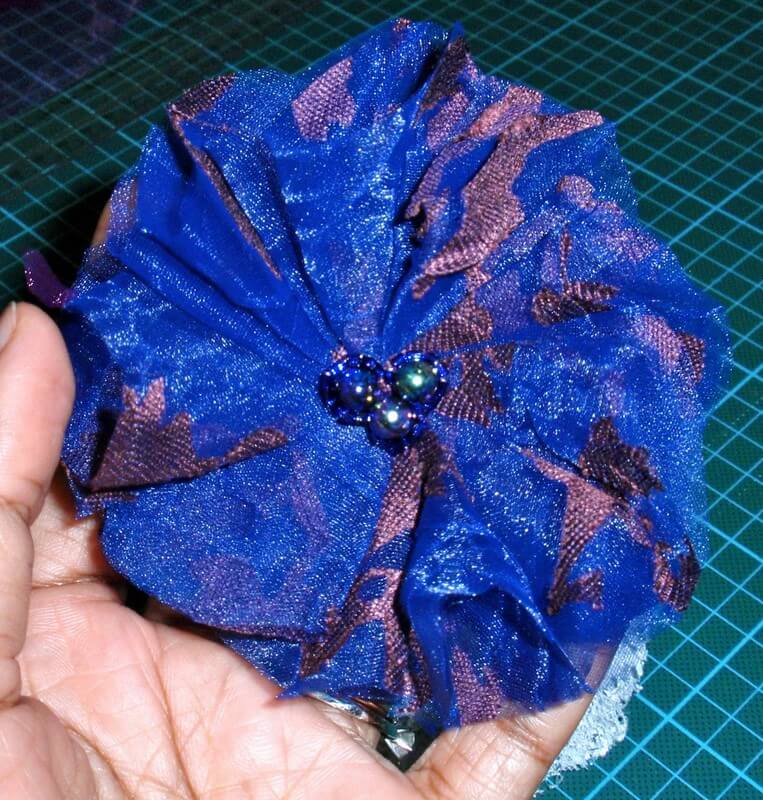
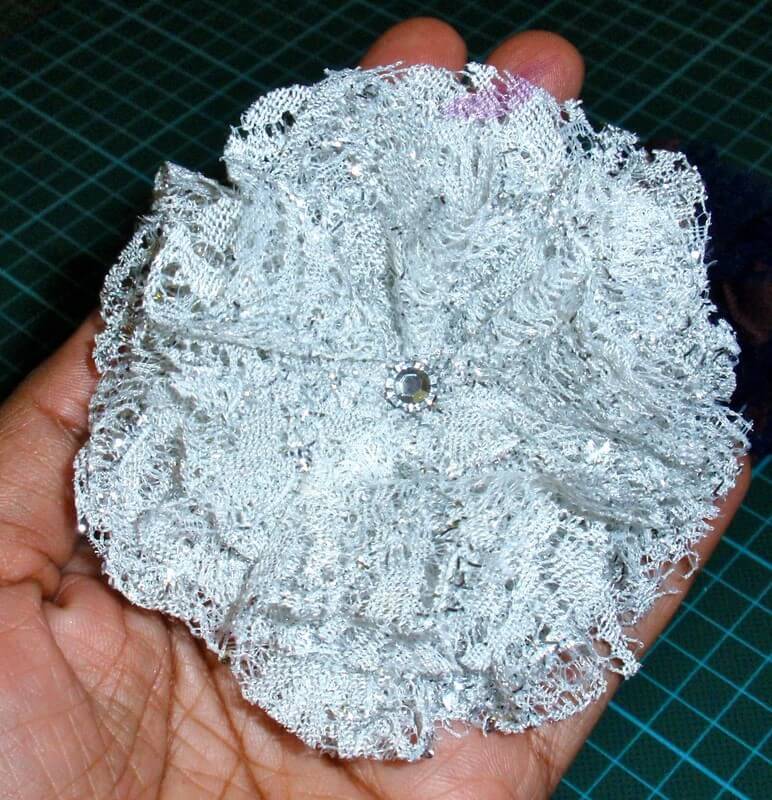
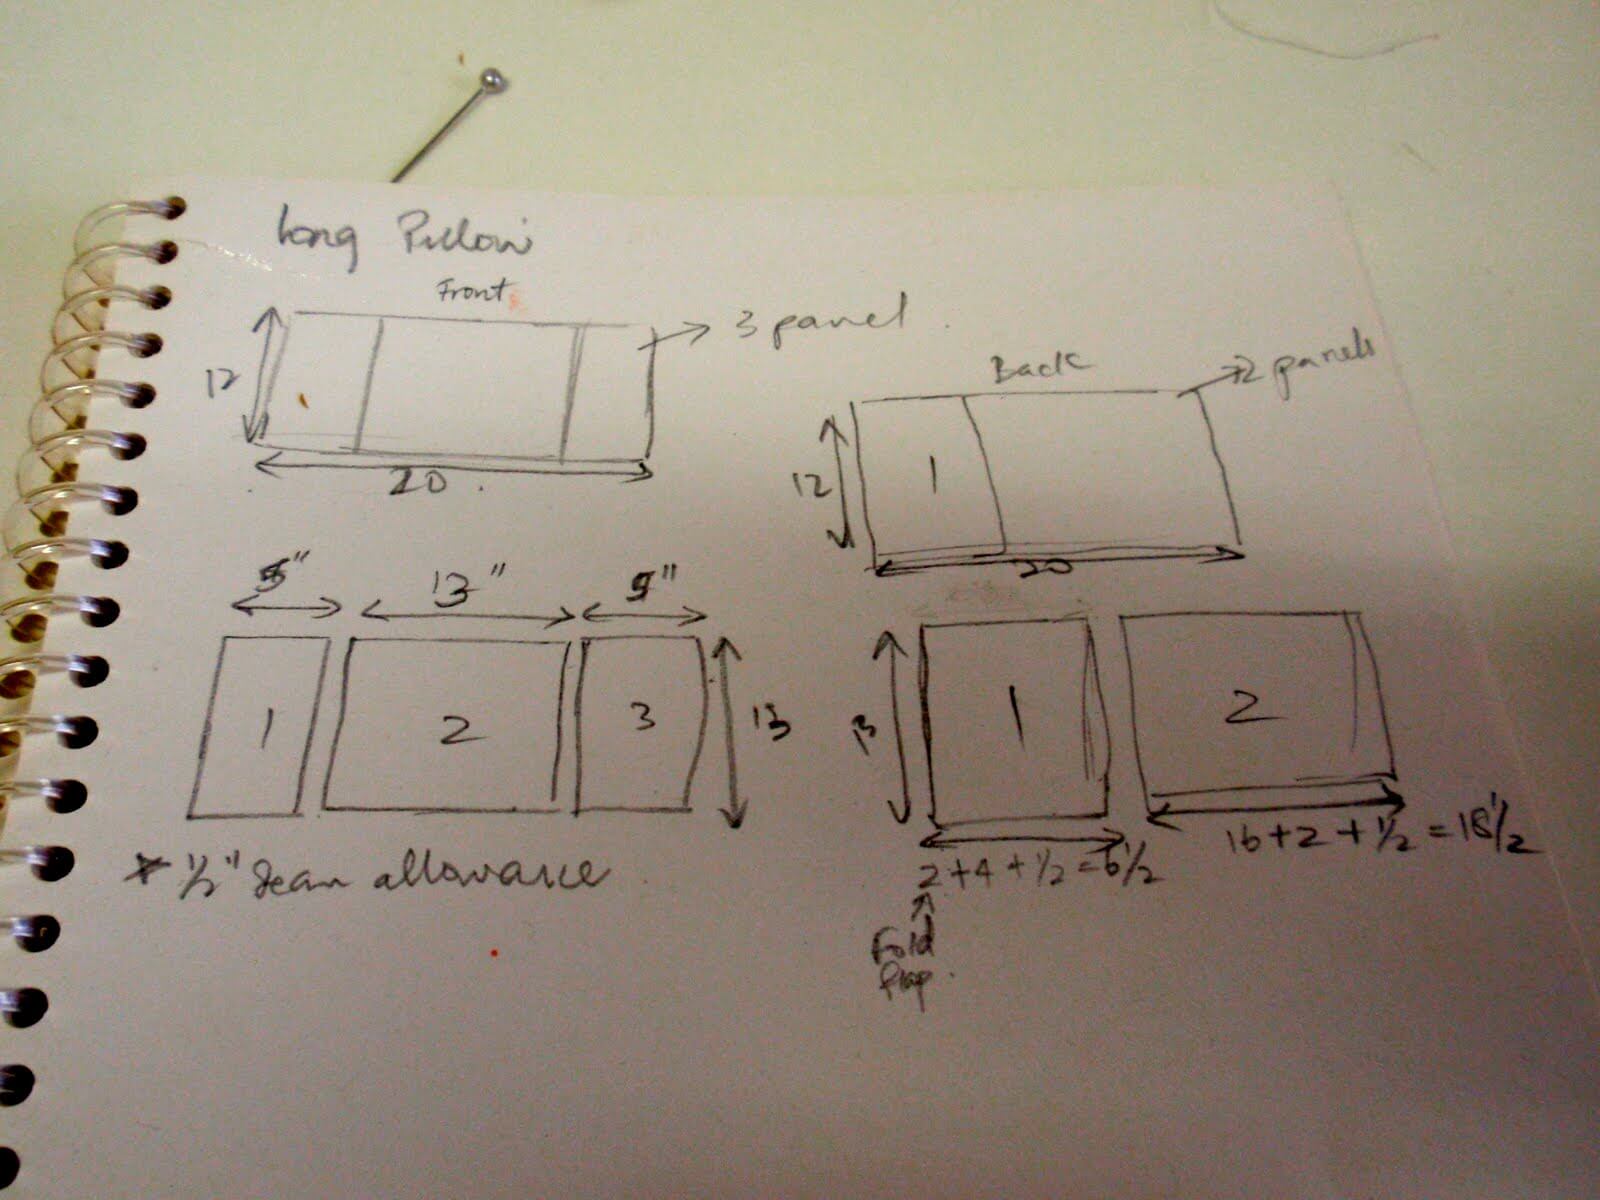
Here are two of my bead embroidered pieces.


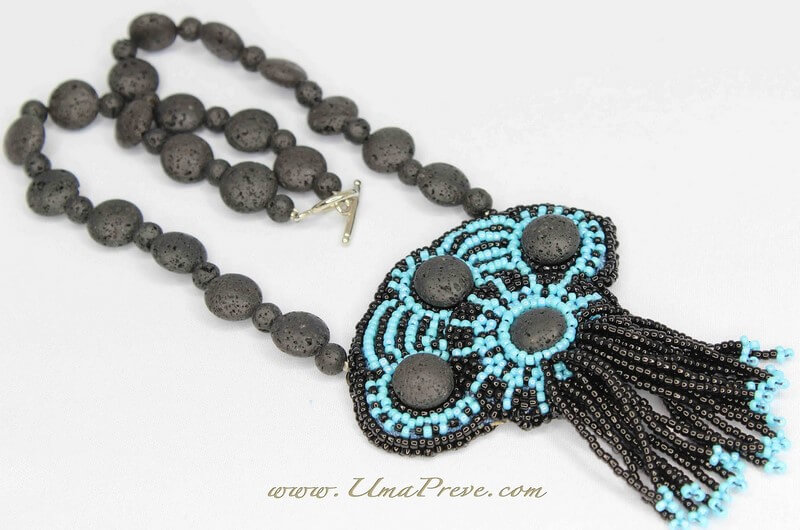
The black beads are from Indonesia (Bali). They are volcano beads! Brings back lovely memories as I bought them while my husband and I were on our honeymoon. The blue and black seed beads are czech beads bought here in Sweden. This will be a piece I am going to keep for a very long time. Perhaps pass it down to my child/children one day!


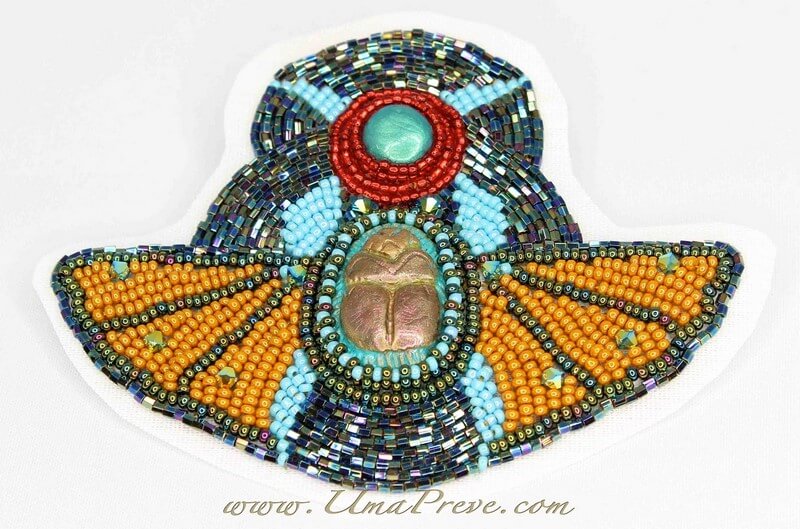
This piece was inspired by Egyptian art which I love so much. The scarab is made of polymer clay. In fact, this was the first time I had my hands on polymer clay. It turned out ok, I think. I painted it with nail polish from Orly (space cadet) to give that duel tone effect. Not sure if it will last but it was worth the try. I might use this piece in a clothing design. It's work in progress for now.

If you want to see more bead embroidery that I have or am in the process of doing, please watch the b/m videos on my DIYFashionista Youtube channel (click here).


Here are some links to Youtube channels where you can learn the basics of bead embroidery. This was how I learnt and progressed with my projects.

- Beadaholique.com - Click here
- Beads friends - Click here
- Tsummerlee - Click here


I am still learning and I am glad to have tried this art.  I must admit, bead embroidery is a test to my patience and I can't believe that I can do it for hours in a stretch without feeling frustrated or distracted, so it is a pleasant surprise for me. Yes, I have the attention span of a 5 year old at times! :)

Thanks for stopping by! How is your week so far? Do you have time for a hobby?

Thursday, December 15, 2011

Cheap Makeup brush, eyeliner and lipliner holders (great for Makeup Artists)

Recently, I was at an arts and supply store at Bras Basah complex (in Singapore). I was looking at some tools to organize my traveling makeup suitcase. I am a free lance makeup artist and need my tools to fit my suitcase.


This is a holder for paint brushes. Well, I don't see why I can't use it for makeup brushes. Makeup and paint brushes are same same but different!

This paint brush holder holds 30 brushes. I have way more then that in my kit. Yes, I know I am a brush addict. I get some brushes for free too so of course it adds up with the ones I buy too.

This holder costs around SGD$12.00. I think it is a good deal as most makeup brush holders are around the same price and hold only half of what this holder can.

I can even make the holder stand with the velcro strips that is attached (see picture below). 


Some brushes are missing as I have yet to clean them. 

Now, for pencil eye liners and lip liners, I found Copic markers holder (SGD$8.00). I was so excited as I have been wanting this holder for a long time for my Copic markers and was not able to get them in Sweden. Bought a few holders not only for my lip/eye liners but also for my Copic markers.


It can be placed like a stand too! Cool right?!


I hope some of you found the above useful if you were thinking of makeup organizers that are inexpensive.

Do you have any organizing tips to share?
.................................

Hope you are having a pleasant week.


Monday, October 24, 2011

DIY: Fall/Autumn head band

If you have a bad hair day and need a quick fix, just put on a head band. It's as easy as that. Even better, make one yourself! That's what I did. Here is a quick tutorial showing you how to make the head band. This tutorial is available on my craft Youtube channel, DIYFashionista.

Video Tutorial


Thanks for coming by!

Have a great week!

Saturday, August 20, 2011

Bead embroidery.... My new hobby!

I have started another hobby, bead embroidery. I love it. So therapeutic.

Don't mind my glossy face... I was too absorbed beading!


 It all started when I was browsing for handmade jewelry on Etsy. OMG, there are so many talented beings on there. I was absolutely mesmerized by the lovely work some have done with bead embroidery. Started doing some research about it and that's how it started. I had most on the material in my stash that I have been collecting for the past ten years. So it made it even easier to start a project.

I have made a few earrings (pics not included sorry)... Now I am working on this. Hopefully It should be done soon and I promise to show off to you guys! hehehehe!


That's it for now! 

I hope you are having a pleasant start of the weekend!


Saturday, December 4, 2010

Handmade fabric flowers

Now that my Fashion Illustration course is over, I can finally do some handicraft and some sewing. For a start I made some fabric flowers. Maybe these might be given away as part of my blog giveaway for my sewing/handicraft loving ladies. 

Here are some pictures of my handiwork. I think I will be making more this weekend. When I get inspired to so something, I can get so engrossed in it.


These can be worn as a hair accessory or as a broach.

Do you guys know of any online tutorials on handmade fabric flowers? Please feel free to share!

Anyway on a side note, it is snowing and cold here in Sweden.
Here is a picture of Uppsala and the snow!

Thanks for coming by my lovelies!

Have a pleasant weekend.

Sunday, August 29, 2010

Tutorial : DIY throw pillow case (great for beginners)

Finally, I made this video from my fellow crafty sisters/brothers! I love redecorating my home. Never really like to spend money on things that can be made. All you need is some spare time and the motivation to do it. I used old sarees I had in my stash for years. 

I had a hard time trying to make the drafting part as easy as possible & understandable. This is the best I could do for now.

Things/tools needed for this project:
- Sketchpad / paper
- pencil and eraser
- scissors/rotary cutter
- ruler
- fabric pen /chalk
- measuring tape
- Fabric (you can use old t-shirts too! Be creative!)
- Pillows
- sewing machine (you can hand sew too!)
- sewing pins
- iron (I like to iron my projects after stitching, however this is optional)

*
*

Measurements based on the throw pillow I had. Please do necessary changes based on your throw pillows!


Here is a tutorial explaining the construction part!


My creations!


Hope you guys find it useful and make one yourself soon!

Till next time... 

Sunday, July 25, 2010

Throw Pillows (DIY home deco)

My mind has been in the thinking and designing mode. I have been decorating my home and the theme I am going for is something with Moroccan/indian decor. I have been making throw pillows for my sofa. It's an easy project and it's always nice to sketch and visualize the end result. I do not want to spend too much money on the decor either so DIY projects are the only option now. Use what I have at home.

Here is my sketch and planning process.


Old sarees that I have been saving for many years in my stash.

Made 3 throw pillows (20''x 12'')


The back side of all 3 looks like this.


I am very happy with the results. It was worth the 5 hours spent on this project. Do let me know if you would like to see a tutorial on this.

Till next time, I am off to do more sewing before I go for a mini holiday to Croatia.

Love Love

Thursday, June 10, 2010

DIY project: Earring holder

I have a gazillon earrings and jewelry pieces (store bought and handmade by me). I believe that the earrings/ necklaces should be hung and not be put away in a drawer. Doing that will distort the earring and you will never know what you have. Now with a earring holder, you can pick and match the earrings to your outfit without the frustration of going through drawers of jewelry (trust me I have been there and done that!). I thought maybe this step by step guide will give you some inspiration to make one your own. You don't have to spend a lot to make this (promise). Use what you have and be innovative. Anyway, here is the guide. If you have any questions, please feel free to ask.

Tools and things needed are :
1) Pen knife
2) All purpose glue
3) Thumb tacks or board pins ( you can also use sewing pins)
4) Chain or wire (I have a roll of chain in my beading stash so that came handy)
5) Decorative fabric or paper ( the ones I am using are scraps of wrapping paper)
6)Ikea soft notice board ( I am sure you can use two layers of think cardboard too)
7) Sewing pins - optional ( To keep the decorative paper in place after glueing)


STEP 1
Align the decorative paper onto the ikea notice board. Cut away the excess paper. I am using sewing pins to keep the paper from curling up.

STEP 2
Squeeze some glue onto the notice board just like so.

Make sure to cover the corners as they might curl up if not glued properly.


STEP 3
Since I didn't have enough deco paper to cover the whole board, I had to use another contrasting colored deco paper to cover the sides.

STEP 4
Use sewing pins to keep the glued paper in place. Allow the glue to dry for 2 hours.

STEP 5
With the pre-cut chains (15cm), use thumb tacks to place them as illustrated. (This is preferred for dangling earrings)

Whoa la....
A home made earring holder YAY!


Place your beautiful earrings and you are ready to hang it either in your wardrobe/closet or your creative corner. Mine will be hanging on the wall where I do my make up and makeup videos!

I hope some of you might find this useful and try it out. 

Till next time, 
Love Love

(PS: I am going to make two more holders as it turned out quite nice and it makes a great backdrop when I make Youtube videos!)

Sunday, March 28, 2010

Been a little creative!

Hi my lovelies,

I have been a little creative lately. Made some jewelry. Here are the pictures. Let me know what you think!
Tribal inspired earrings

Kite like earrings!

Simple earrings

More tribal inspired earrings

Even more!

Thumb ring!

Coral bracelet

That's all for now!

Love Love

Tuesday, February 16, 2010

Featured in makingjewelrysupplies.com!

I am back from my honeymoon. Got a pleasant surprise after checking my emails. I am featured on http://makingjewelrysupplies.com/blog_awards/index.php?id=3792.  This is their home page http://makingjewelrysupplies.com/.

Stay tuned, I will be posting my honeymoon pictures...

Saturday, January 30, 2010

Handmade Jewelry

Today, I woke up feeling very creative. I have no idea why I was feeling like that but it felt great. I made 3 pieces. The inspirations came from the movie avatar, a peacock feather and Egyptian art. For those of you who have not seen the movie, Please see it! It's the best (my honest opinion). Here are the pictures.

Avatar movie inspired - Ring


Peacock feather inspired - Necklace


Egyptian art inspired - Bracelet


That's all for now! Had a very creative Saturday, very satisfied that I made something. My favorite is the Avatar inspired ring. 

Which one do you like best? I would love to hear your thoughts!

Love Love.